Showing posts with label DIY. Show all posts

Monday, April 29, 2013

DIY terrarium

Buying plants from the Spring Garden event has inspired me to make a terrarium and I figured I would share with you guys. This tutorial will be for tropical plants only.

Here are the things you will need:
1. Substrate. I will be using plants that require different substrates. The darker side is just organic soil while the lighter side is peat moss
2. Activated carbon to keep our terrarium fresh
3. Perlite to ensure drainage
4. Sphagnum moss
5. A jar, cloche dome, any glass container you wish to put your plants in
6. A tweezer
7. Gravel and/or river rocks
8. Scissors 
9. Your plants! Here is a list of plants suitable for terrariums
   *a spoon is optional for pressing down the substrate and plants
     because I need to use different substrates without mixing them together I divided the two using a
     toilet paper roll. Then I realized they deteriorate over time so I reinforced it with plastic.
These are the main plants I will be using: Fern asplenium rutifolium (carrot fern) and Sundew (it eats bugs!)
The workers from Andy's Orchids at the garden show said they had some liverwort species that was taking over their plants so they gave some to me for free. It looked so alien-like so I had to accept their offer! (: So I'm using this, small bits of moss, and baby tears from my yard as a ground cover.
Step 1: Put at least an inch of gravel/river rocks on the bottom for drainage
Step 2: Sprinkle activated charcoal (carbon) over the gravel
Step 3: This is if you are splitting substrate like I am. Cut a piece of the roll and place it where you want your plant(s) to be.
Step 4: Mix your substrate with perlite or sharp sand(50/50)
Step 5: Make a funnel out of paper to pour your mixed substrate in
Step 6: Add sphagnum moss. Because my jar is fairly narrow, I cut the moss into smaller pieces so it would be easier for placement
Step 7: When removing your plants, make sure you try to get your tweezer to go as deep as possible so that you can grab it by the roots. You can also use your hands but I felt that these were too delicate.
Step 8: Make sure you know what kind of water your plants need. Sundew requires distilled water specifically so it's safer for me to use pure water. Spray or drizzle into the jar. Make sure your plants are always moist but not overwatered (no dry periods for these guys)
Step 9: Add rocks and figurines to your hearts content. Enjoy! (:

Friday, July 6, 2012

HOW TO

GLAZED APPLE CUSTARD PIE

This past year I've explored my baking palette a bit more and I've added another pie to my list.

The Crust


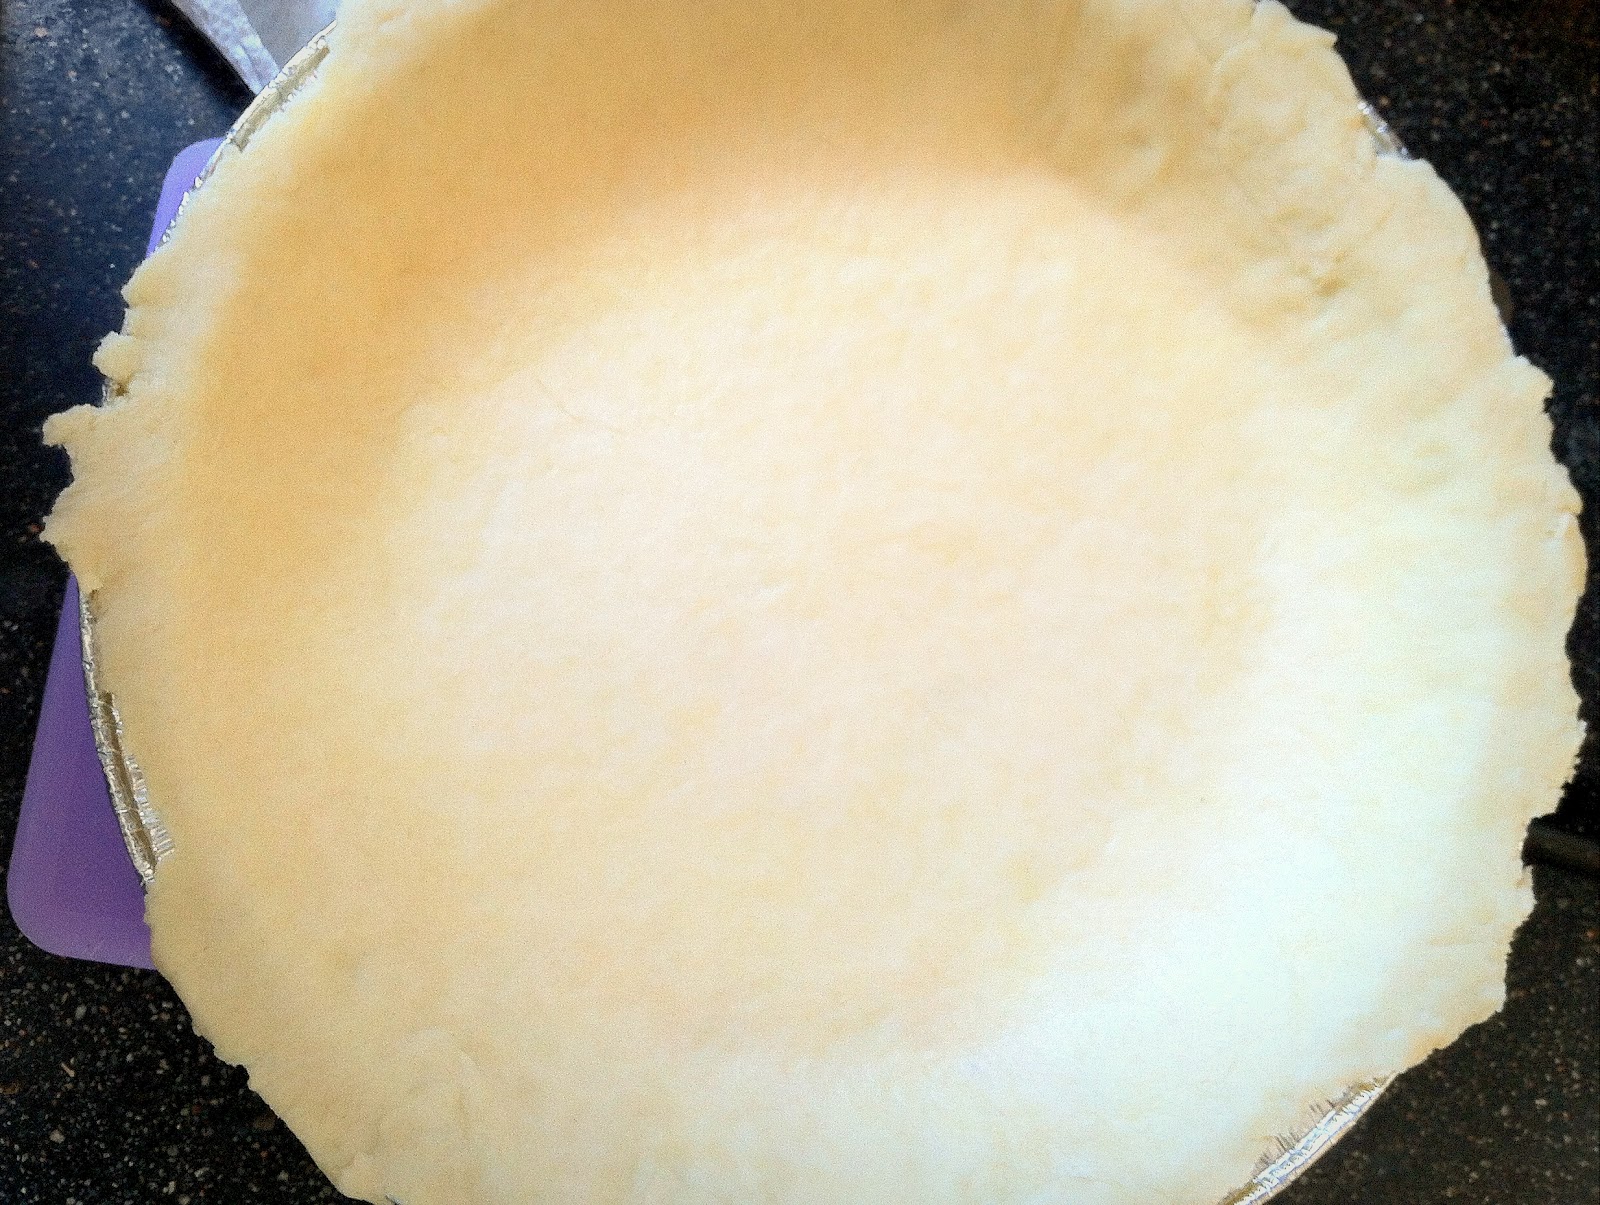
You can either buy a mix or get a pre made crust but I like to make my own.  For this kind of pie I recommend the non-flaky kind of crust.  I haven't tried many recipes and so I don't have my own but you can refer to this page if you were looking to make your own crust.


The Custard


This was so fun to make. I felt like I was doing a science experiment (fun activity for any child!)

You will need:

Step 1

  • 1/2 cup white sugar
  • 1/2 cup milk
  • 1/2 cup heavy cream
  • 1/4 cup of butter

Step 2

  • 2 tablespoons of cornstarch
  • 2 tablespoons of milk
  • 1 teaspoon of vanilla extract
First, in a medium saucepan over medium heat, mix the sugar, milk, cream, and butter. Stirring occasionally, heat until the better is completely melted. In a small bowl, mix together the cornstarch, milk, and vanilla extract. Mix well! Once finished, stir into the saucepan. As it cooks it will thicken like magic! Once it is the right thickness, remove from heat and set aside to cool.

Preheat the oven to 400 degrees F or 200 degrees C.


The Apples


You will need:
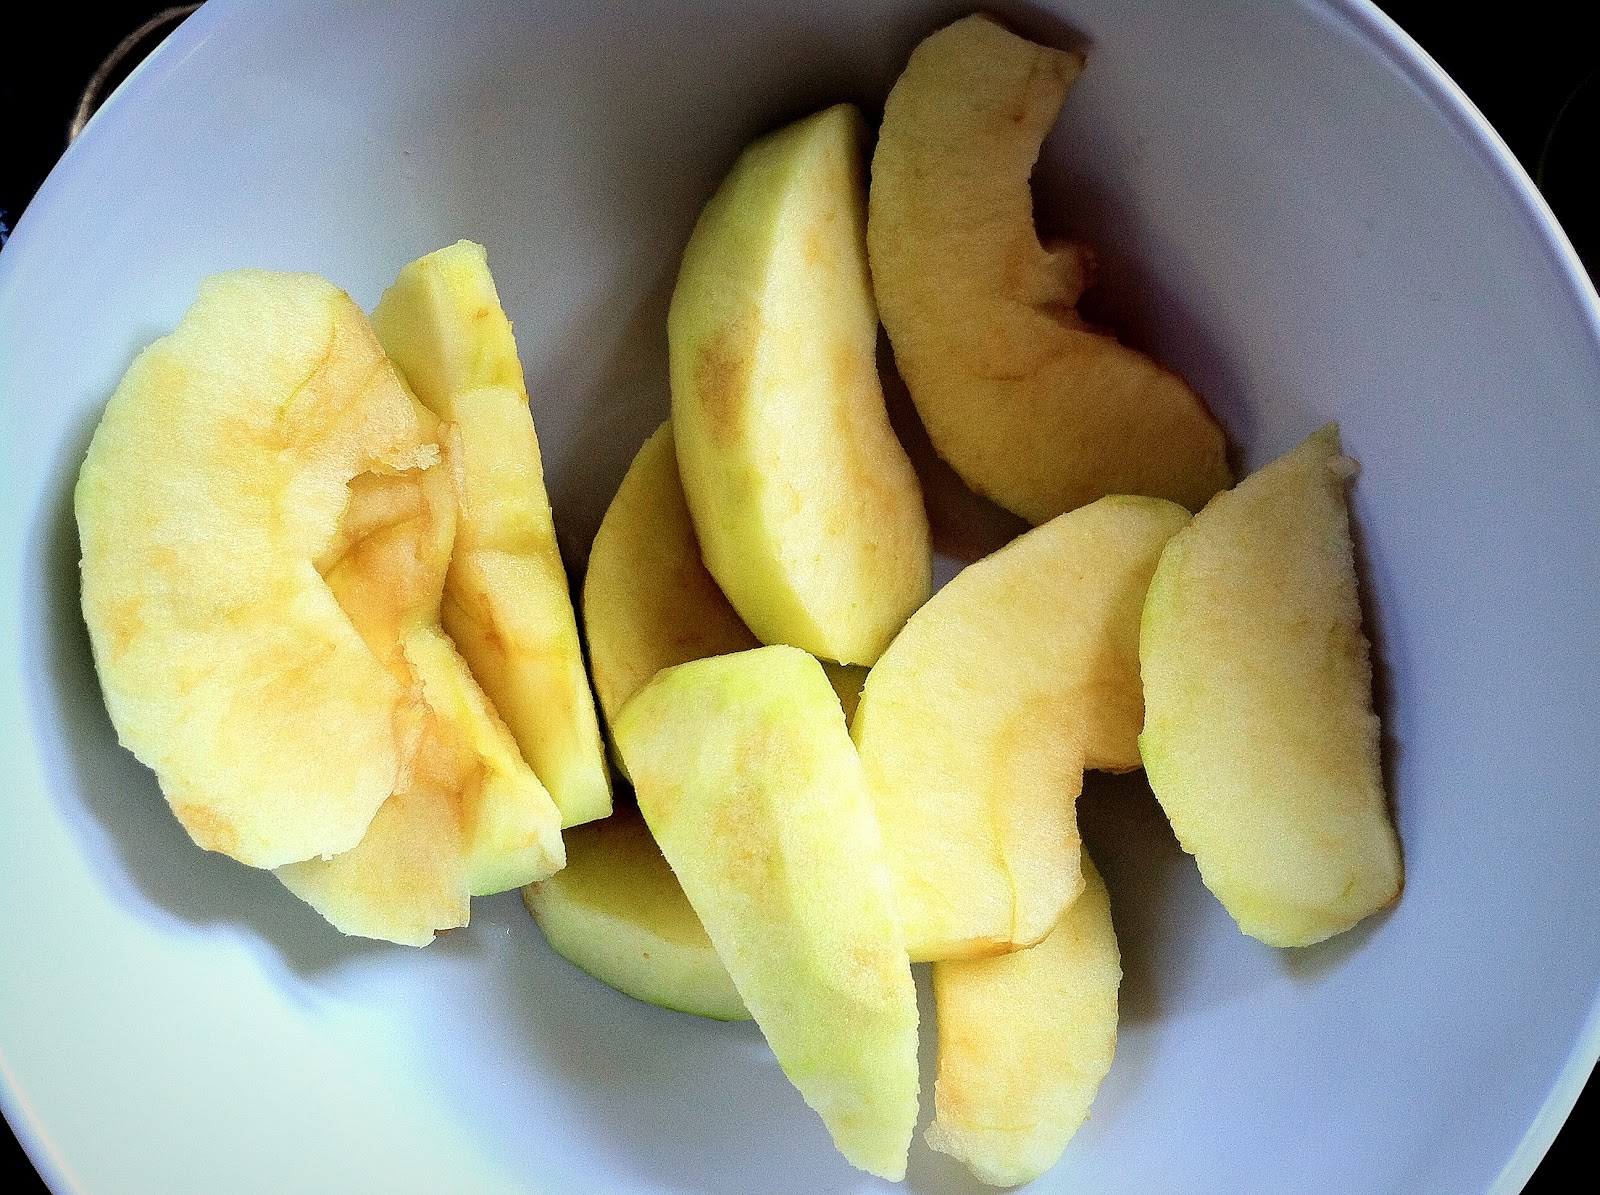
  • 2-3 tart apples - peeled, cored, and sliced
  • 1 tablespoon of flour
  • 1/4 teaspoon of cinnamon

From personal experience, I found that Granny Smith apples work best.  Any red apples will get soft and mushy in the oven. When they are sliced you want them not too thick as they will make the pie crust uneven when you lay it on top. 
In a bowl, combine the apples, flour, and cinnamon and mix it all up so that each apple slice is evenly coated with flour and cinnamon. If you love cinnamon like me you may sneak a few more sprinkles. ;)


The Pie


With a 9 inch pan and your pie dough already rolled out, line it flat inside the pan. It's okay to leave the edges hanging out.

Then, pour in the custard into the pan and make sure the mixture is evenly spread around the pie. Arrange the apples on top of the custard.

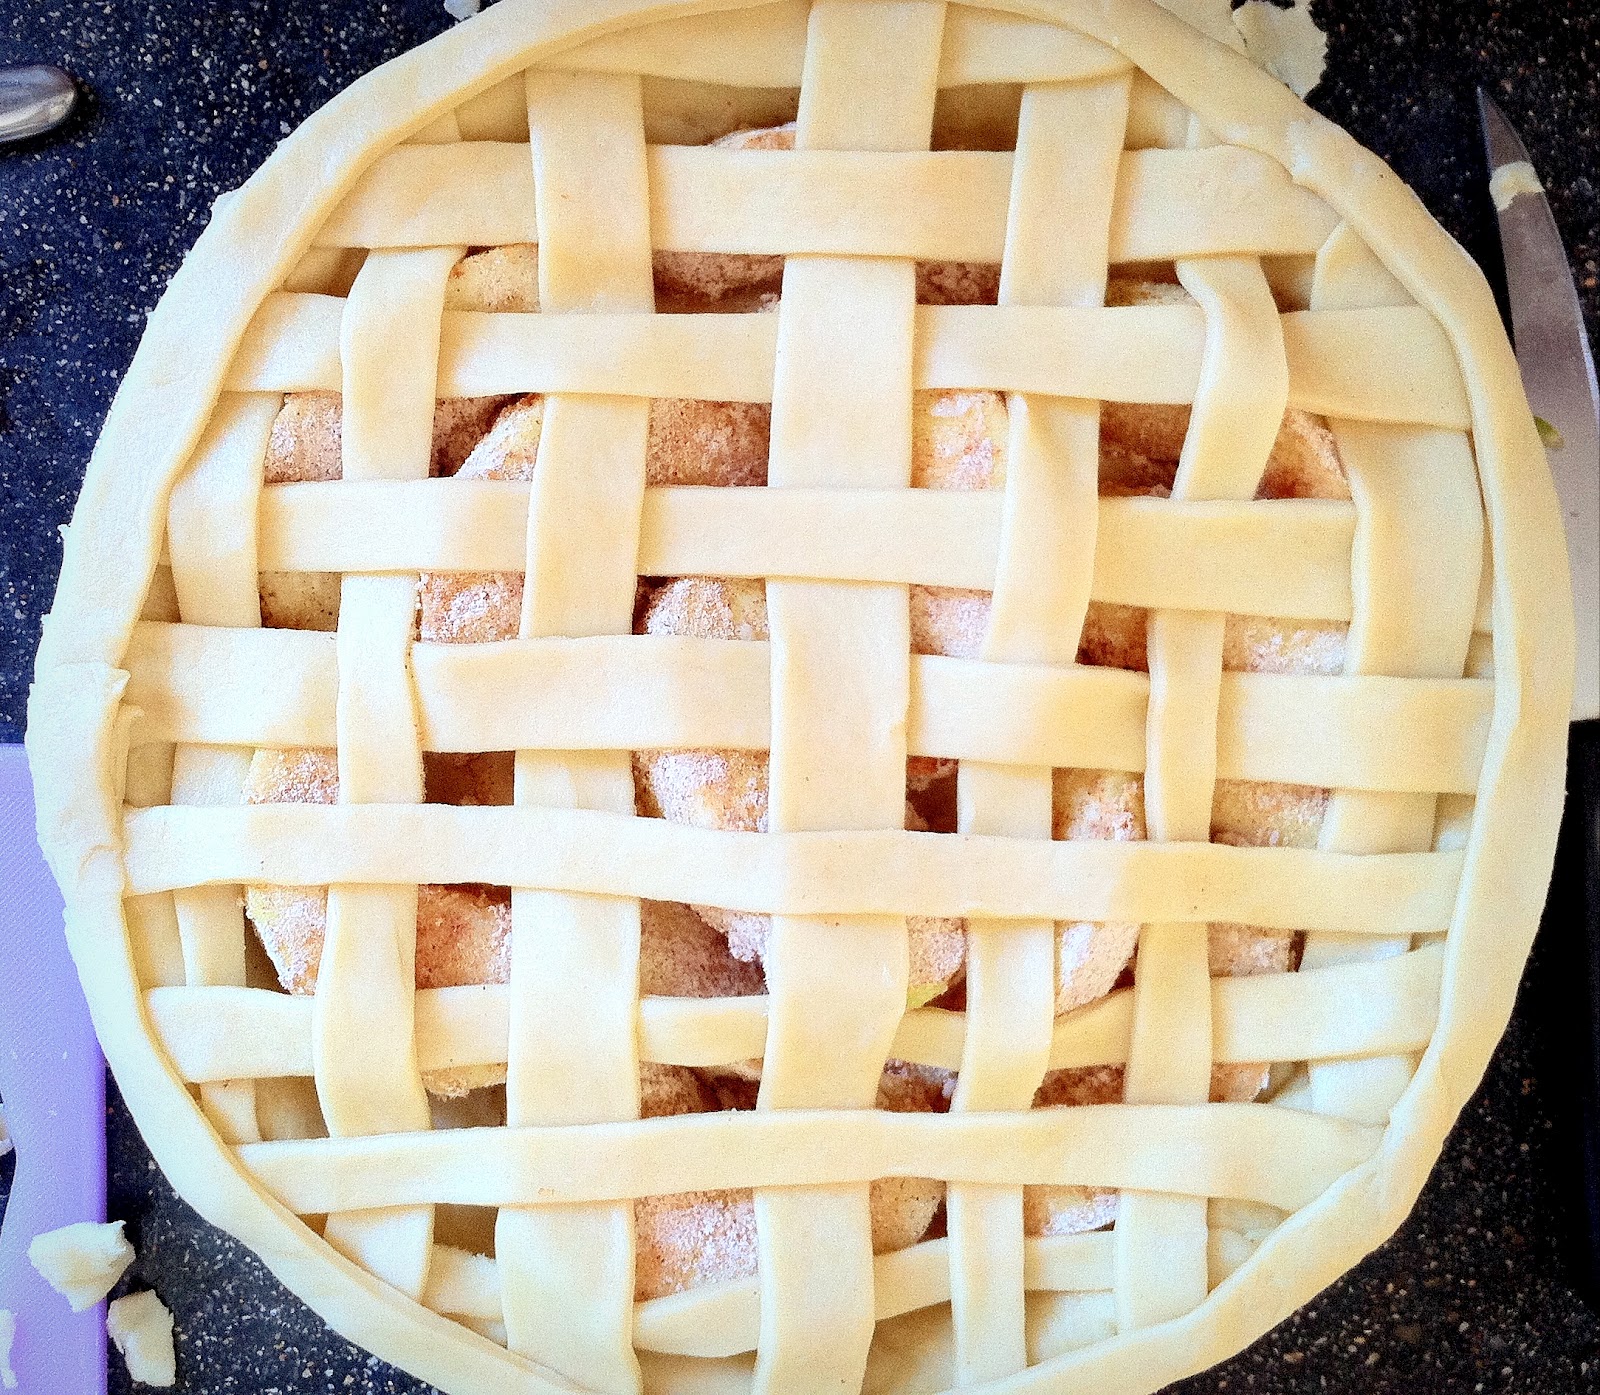
You can either choose to roll out the second piece of dough and just lay it flat over the pie, but make sure you cut out some small slits on top to let out the heat and pressure. Otherwise your pie might explode in the oven. I chose to try my hand at a lattice crust. You find instructions for a lattice crust here. It may be because I'm an amateur but I found that after I placed my crust, the edges were very rough and ugly. So I took leftover strips and placed them along the edge of the pie, tucking them in to make it look neater.

Put the pie in the oven and bake for about 40 minutes, or until you see the crust is a golden color. Once finished, cool for 30 minutes.
In the mean time....

The Glaze


You will need:
  • 1/2 cup confectioner's sugar
  • 1 tablespoon milk
  • 1/4 teaspoon vanilla extract
  • 1 table spoon of softened butter
In a small bowl, mix all of the ingredients and blend until smooth. Pour evenly over the pie. I used a rubber baker's brush to make sure I got the whole surface covered.

Lastly, refrigerate the pie for at least 1.5 hours before serving so that the pie holds together. You make warm it up in the oven or a toaster oven before eating.
Bon Appetit!